After getting the HESA to write data to a SQL database, I feel like I need to measure more things. This week, my new
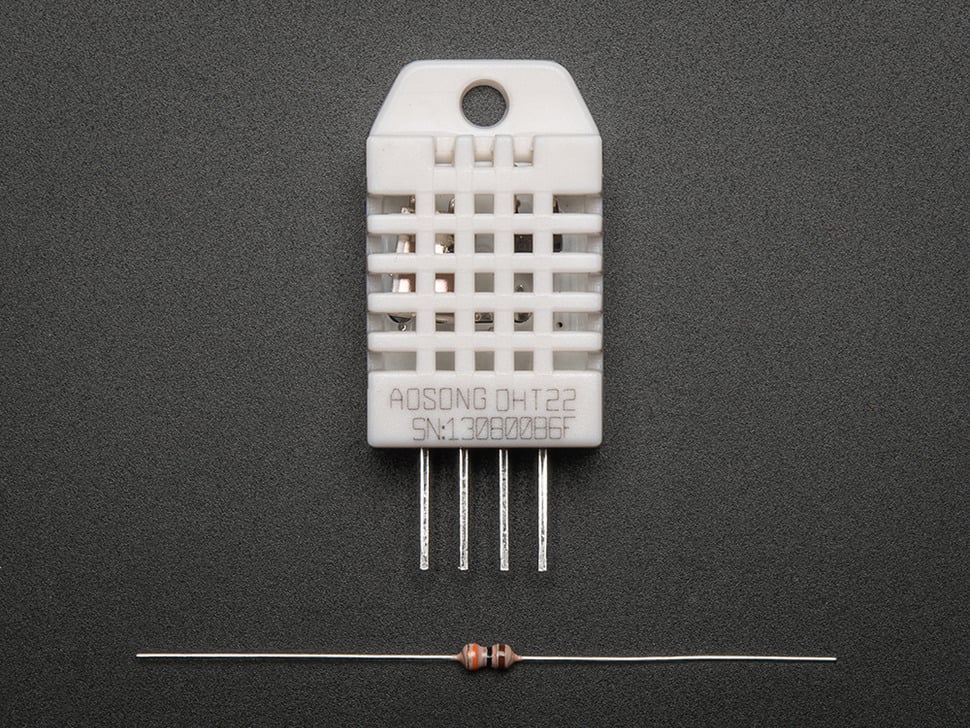
DHT 22 temperature and humidity sensor arrived from
Adafruit. I spent a few hours
Home Environmental Sensor Array.
this morning hooking it in to the
Adafruit makes it super-easy to use the DHT22. They have their own code library for Python. There are a few steps to get the code installed. Full instructions are
here.
The first step is to download the code from github to the modules folder on the pi.
git clone https://github.com/adafruit/Adafruit_Python_DHT.git
The next step is to update the python development library. Mine was up-to-date so I did not need this.
The final step is to install the DHT code library into python so it can be loaded as an include. The Adafruit code from github comes with a program that does this automatically. All I needed to do was cd into the correct folder and type
sudo python setup.py install

Next, I wired the DHT 22 into my Raspberry Pi. It has four pins but only uses three. Pin one goes to power. Pin two connects to a GPIO pin to read the settings. I used GPIO 7 or physical pin 4 on the Pi. Pin two also connects to power through a resistor. Pin four connects to ground.
The code to read the temperature and humidity is simple:
humidity, tempC = Adafruit_DHT.read_retry(sensor, dhtPin)
The sensor variable tells the function what model sensor we are using. In this case, sensor = 22. The dhtPin variable tells the function which physical pin on the Pi pin 2 on the DHT is connected to.
The function sends back the humidity and temperature. The temperature is in Celsius. I convert it to Fahrenheit with this formula:
if tempC is not None : tempF = '{0:0.1f}'.format(1.8 * tempC + 32)
This formula also formats the temperature to have only one decimal point.
The code for the HESA now sends temperature and humidity readings to my SQL server database once an hour. I also changed the code so it updates my local web page once every ten minutes and updates the database once every sixty minutes. Before this, it was simply counting cycles and estimating the times for updating.
The link to view the data on the webpage is
here.


